How to Bulk Compress Images: CSV & Batch Workflow Guide (2026)
Single-image optimization is a solved problem. Bulk compression is where most pipelines fall over — not because the encoders are bad, but because the operator picks the wrong tool for the batch size, the wrong quality strategy for the content mix, or the wrong format for the consumer. This guide walks through the decision tree for batches of 10, 100, and 1,000+ images, the format and quality trade-offs that actually matter at scale, and the CSV and automation patterns that hold up in production.
Single vs Bulk: When Batching Pays Off
The break-even between hand-compressing each file and reaching for a bulk image compressor sits around ten files. Below that, the time you save batching is eaten by the setup overhead — selecting files, configuring options, downloading the ZIP. Above that, every additional image is essentially free, and consistent settings produce a more predictable result than human-by-human tuning.
The other axis is content uniformity. A batch of 200 product photos shot on the same camera under the same lighting can take a single quality setting. A mixed folder of photos, screenshots, and logos cannot — the same quality 78 setting that looks pristine on a landscape photo will turn screenshot text into mush. The right move in that case is to sort first, then batch each group with its own settings.
Supported Formats and What They Cost
Every bulk job comes down to one decision per image: source format in, target format out. The four formats worth running through a batch in 2026:
- WebP. Default output for almost everything. 25–34% smaller than JPEG at equivalent quality, 97%+ browser support, encodes in milliseconds.
- JPEG. Use when you need bulletproof compatibility — print pipelines, legacy CMS, ad networks that still reject WebP.
- AVIF. 10–20% smaller than WebP at the same quality, but 5–30x slower to encode. Worth it for static asset libraries built in CI, not for interactive batches.
- PNG. For images with transparency, sharp text, or flat-color UI screenshots. PNG for photographs is almost always wrong — file sizes are 5–10x larger than the WebP equivalent.
Rough benchmarks on a 4 MP smartphone photo at recommended quality settings:
| Format | Quality Setting | Output Size | Encode Time (typical) |
|---|---|---|---|
| JPEG | 85 | ~480 KB | ~40 ms |
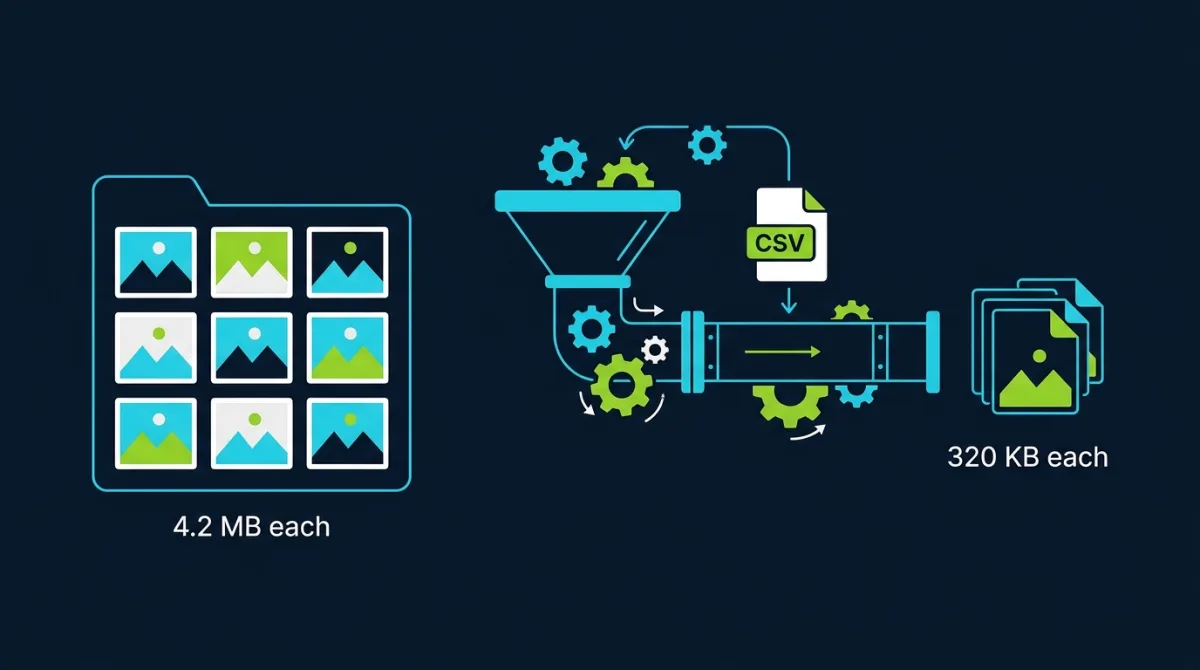
| WebP | 78 | ~320 KB | ~80 ms |
| AVIF | 60 | ~240 KB | ~1,200 ms |
| PNG | lossless | ~4.1 MB | ~250 ms |
The encode-time column is what matters at batch scale. A 500-image WebP run finishes in under a minute on a modern laptop. The same batch in AVIF takes 10–15 minutes. For one-off marketing assets that is fine. For a weekly content workflow it is unacceptable.
Quality Settings: One Per Group, Never Per File
The quality dial is non-linear and content-dependent, which makes per-file tuning a tar pit at any scale beyond a handful of images. The working approach: pick one quality setting per content group, validate it on a 10% sample, then run the whole group.
Working defaults by content type:
- Product photos on white background: WebP quality 80. Edges around the product stay clean; background noise is invisible after compression.
- Lifestyle and editorial photography: WebP quality 75–78. The textured backgrounds and varied lighting hide compression artifacts well.
- Hero images with text overlays: WebP quality 82–85. Text edges are the first thing to suffer from aggressive quantization.
- Screenshots and UI captures: PNG (with pngquant) or WebP lossless. Lossy WebP on flat color blocks produces visible banding.
- Social media batches (square crops, mobile delivery): WebP quality 72–75. Most users will see them on a 1x phone screen where artifacts disappear.
Resize comes before compress in every workflow that is not constrained by some external requirement. Serving a 4000-pixel-wide source inside an 800-pixel container forces the browser to download 25x the pixels it will use, and those extra pixels survive compression and bloat the file. Resize first, then compress — the combination on a typical phone photo cuts a 4 MB original down to 60–150 KB at full web quality.
Batch UX Patterns: Drag-Drop, CSV, API
Three patterns cover essentially every bulk compression workflow in production.
Drag-and-drop folder. The simplest and most common. The user drops a folder or selects a multi-file batch, the tool applies a single quality setting and output format, and returns a ZIP. The bulk compressor tool on Pixelry uses this pattern and runs everything client-side via WebAssembly, so the original files never leave the browser. Right answer for content marketers, photographers prepping client deliverables, and developers cleaning up an asset folder.
CSV-driven pipeline. When different images need different settings, a CSV is cleaner than any UI. Standard schema:
source_path,target_path,format,quality,max_width
products/hero-001.jpg,out/hero-001.webp,webp,85,2000
products/thumb-001.jpg,out/thumb-001.webp,webp,70,400
blog/feature-may.png,out/feature-may.webp,webp,82,1600
A small Node or Python script reads the CSV row by row and shells out to sharp, cwebp, or the imagemin family. The same pattern works for batch QR generation — the QR Forge bulk generator uses a similar CSV-driven flow for thousands of codes per batch. The CSV is the right abstraction whenever you have rows of inputs with per-row parameters.
API or programmatic. For workflows tied into a larger system — a CMS that compresses on upload, a CI pipeline that optimizes assets on every build, a webhook that processes new S3 objects — you skip the UI entirely and call an image library directly. sharp is the default Node choice; libvips bindings exist for Python, Ruby, and Go. This is the right pattern when image compression needs to happen without a human in the loop.
Batch Size Limits and Practical Ceilings
Browser-based bulk tools are bounded by RAM, not file count. On a typical laptop with 16 GB RAM:
- Up to ~100 images: instant, no concerns.
- 100–300 images: smooth, ZIP download takes a few seconds.
- 300–500 images: works but the tab gets sluggish; close other heavy pages first.
- 500+ images: split into chunks. The browser starts swapping and encode times go non-linear.
For volumes above a few thousand per run, move out of the browser entirely. A simple shell loop with cwebp processes tens of thousands of images overnight on a single CPU core, and the sharp library scales linearly across cores. The threshold where CLI tooling beats a browser flow is roughly the point where you start thinking about chunking.
Common Use Cases and What Each One Needs
E-commerce product photos. Two outputs per source: a 2000px hero at WebP 85 and a 400px thumbnail at WebP 70. CSV-driven pipeline. Source images stay in cold storage; processed outputs go to the CDN. Re-run the whole pipeline whenever the design changes the display dimensions.
Blog and editorial hero images. One output per source, WebP at 80, max-width 1600. Drag-and-drop is fine for the volume (typically 1–4 images per post). The bigger optimization win usually comes from resizing before compressing — many editorial workflows ship 4000px source files where 1600px would render identically.
Social media batches. Per-platform sizing — 1080x1080 for Instagram, 1200x675 for Twitter cards, 1080x1920 for Stories. WebP quality 72–78. The right tool is one that can resize and re-format in the same pass; the bulk compress tool handles this when paired with the resize step.
Photographer client deliverables. Two outputs per source: a high-quality preview gallery (WebP 88, 2400px wide) and a low-quality watermarked proof set (WebP 72, 1200px wide). Often paired with the watermark tool for the proof set. Client gets ZIP downloads of both.
PDF and document attachments. Slightly different problem — images embedded in PDFs need re-compression at PDF generation time. The pattern is to pre-compress the source images, then let the PDF library embed them as-is. Some teams run a similar batch pipeline for PDF compression directly via PDF Press for document-level workflows.
Automation: CLI, Cron, and CI Hooks
Three automation patterns cover the realistic depth of bulk compression in production.
- CI build hook. A pre-build step in the static site generator runs
sharporimageminon every image in the asset folder. Cached by hash so unchanged images skip the encode. Right answer for content sites where image volume grows slowly and predictably. - Cron + watched directory. A nightly job sweeps an upload directory, compresses anything new, and writes to the CDN bucket. Right answer for user-generated content systems where the upload pipeline is decoupled from the display pipeline.
- Object-storage webhook. A serverless function (Lambda, Cloud Run, Netlify Function) fires on every new object in the bucket and writes a compressed sibling alongside it. Right answer when latency matters — the compressed version is available within seconds of upload.
For workflows that do not warrant any of these — small team, manual content review, low daily volume — the right automation is “a shortcut to the bulk compressor in the bookmarks bar.” Picking the right depth of automation is more important than picking the right tool.
The Bottom Line
Bulk image compression is a workflow problem more than a technical one. The encoders are good; the failure modes are operational — wrong format for the consumer, wrong quality for the content, wrong batch size for the tool, no automation where there should be one. Pick WebP as the default output, sort batches by content type before processing, set quality per group rather than per file, and reach for CSV pipelines or CI hooks before they are strictly necessary. The bulk compressor handles the encode; the workflow around it decides whether the optimization is repeatable.
Frequently Asked Questions
Compress a Folder in One Pass
Drop in up to 500 images, pick a quality, and download the ZIP. Everything runs in your browser — no uploads, no sign-up, no data stored.
Open Bulk Image Compressor →