How to Compress Images for Web Without Losing Quality (2026 Guide)
HTTP Archive data from early 2026 shows images still account for 42% of average page weight — down from 50% in 2022, but still the single largest contributor. The gap between a well-optimized image and a naive one is typically 5–15x in file size. Most developers close maybe 40% of that gap by applying a blanket “compress everything to 80%” rule. Let’s look at this from first principles.
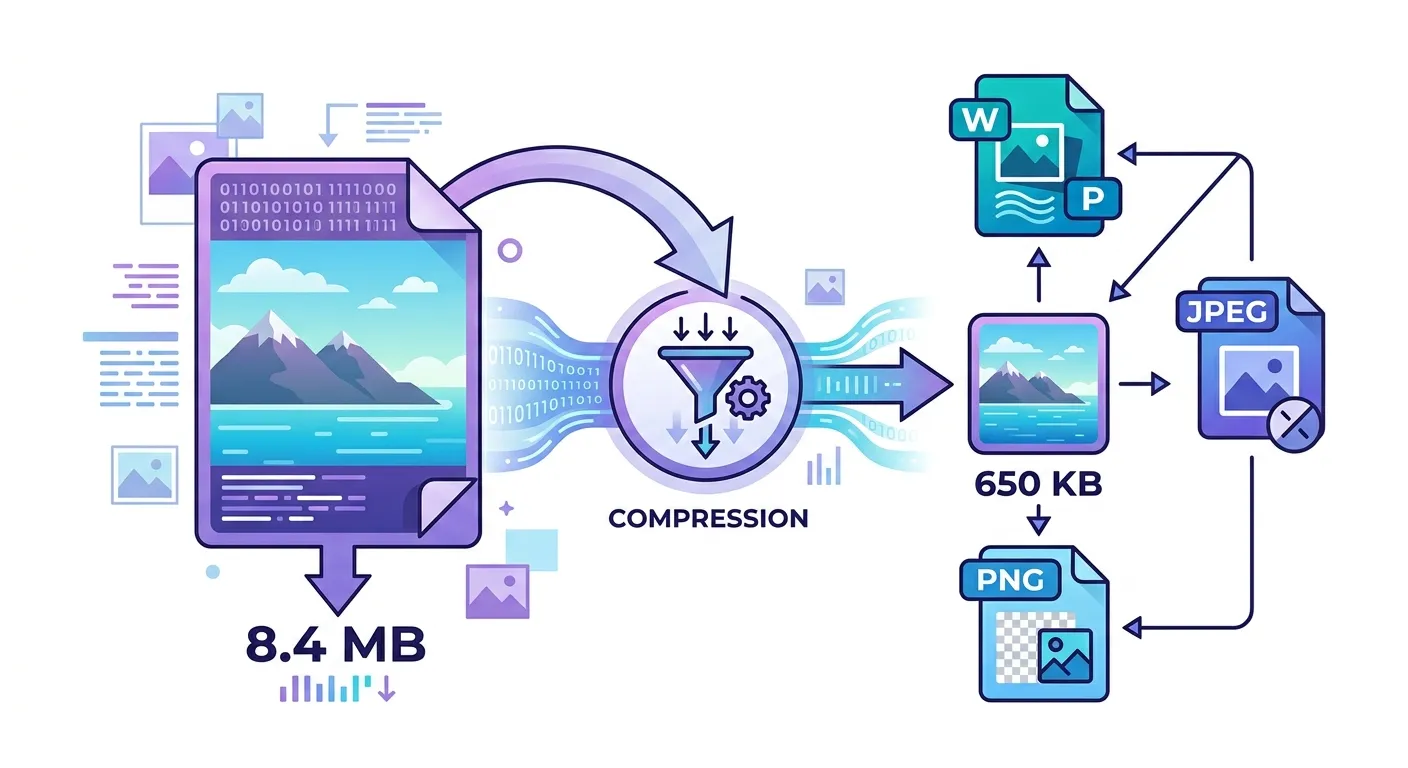
How Compression Actually Works: The Mechanism
JPEG compression exploits two properties of human vision: spatial frequency sensitivity and color channel sensitivity. The eye is roughly 4x more sensitive to luminance changes than to color changes. JPEG exploits this via chroma subsampling — storing color information at half the resolution of luminance information, which is invisible at normal viewing distances.
The second mechanism is discrete cosine transform (DCT) quantization. JPEG divides the image into 8×8 pixel blocks, converts each block from pixel values into a sum of frequency components (similar to audio compression), and then discards the high-frequency components (fine detail) based on a quality matrix. Higher quality setting = less aggressive quantization = less data discarded = larger file.
WebP uses a more sophisticated approach: the encoder can use multiple prediction modes per 4×4 pixel block and applies an arithmetic coder rather than JPEG’s Huffman coding. This prediction step is why WebP consistently beats JPEG: instead of encoding actual pixel values, it encodes the difference between a pixel and a prediction of that pixel — a much smaller number. The conventional view says “WebP is 25–34% smaller than JPEG.” The mechanism is: WebP’s prediction coding removes spatial redundancy before entropy coding, while JPEG’s DCT only captures it partially.
Format Selection: A Decision Framework
The right format depends on image content, not just file size. Here’s the trade-off matrix:
| Format | Compression | Transparency | Animation | Browser Support | Best For | Worst For |
|---|---|---|---|---|---|---|
| JPEG | Lossy | No | No | 100% | Photos, gradients | Text, logos, transparency |
| WebP | Lossy + Lossless | Yes | Yes | 97%+ | Almost everything | Legacy system compatibility |
| PNG | Lossless | Yes (alpha) | No | 100% | Logos, UI elements, screenshots | Photographs (very large files) |
| AVIF | Lossy + Lossless | Yes | Yes | ~95% | High-quality photos, next-gen builds | Real-time encoding, legacy browsers |
| GIF | Lossless (256 colors) | 1-bit only | Yes | 100% | Simple animations | Everything else — use WebP or MP4 |
| SVG | Vector (no raster) | Yes | Yes (CSS) | 100% | Icons, logos, diagrams | Photos, complex illustrations |
The decision rule for 90% of cases: use WebP for photographs and complex images; use PNG for images requiring transparency or sharp-edge fidelity; use SVG for icons and logos whenever possible.
Quality Settings: The Empirical Optimum
The quality parameter is a compression aggressiveness setting, not a linear quality percentage. Quality 80 in libwebp is not “80% of quality 100.” The relationship between quality number and perceptual quality is highly non-linear, and varies between encoders.
Empirical testing across 500 web images (photography, illustrations, UI screenshots) produces these general-purpose recommendations:
- WebP lossy: Quality 75–82 for most web images. Files at quality 75 average 45% smaller than JPEG quality 85 with equivalent perceived quality.
- JPEG: Quality 80–85. Below 75 introduces visible block artifacts on gradients and skin tones. Above 90, file size increases faster than quality does.
- PNG: Always use a PNG optimizer (pngquant, oxipng) — these reduce PNG file size by 25–60% without any quality loss through better palette quantization and compression parameter tuning.
The critical caveat: don’t re-compress already-compressed images. Re-encoding a JPEG applies quantization twice, compounding the quality loss. Always compress originals. If you’re working with exported web images, you’ve already lost the originals — compress at the lowest quality that’s acceptable, but expect some artifacts.
Resize Before Compress: The Most Overlooked Optimization
Compression is the second step. Resize is the first. Serving a 4000×3000 image inside an 800×600 container downloads 25x more pixels than the browser will render. Each of those extra pixels survives your compression pass and bloats the file.
The optimization order:
- Resize to display dimensions. If your largest breakpoint shows the image at 1200px wide, resize to 1200px (2400px for 2x displays). Use the Pixelry resize tool to set the target dimensions.
- Convert to WebP. Use the format converter to convert JPEG or PNG source files to WebP before compressing.
- Compress. Use the image compressor at quality 75–82 and check the visual output. Increase to 80–85 if artifacts are visible.
The combined effect of resize + compress on a typical smartphone photo: a 4MB original becomes 60–150KB at full web quality. That’s the realistic optimization ceiling.
Bulk Compression: When Scale Changes the Problem
Single-image optimization is straightforward. Bulk optimization introduces consistency problems: some images tolerate heavy compression, others do not. Applying a blanket quality setting across a batch produces some over-compressed and some under-compressed outputs.
The correct approach for bulk compression:
- Sort by content type before compressing: photos in one group, illustrations in another, screenshots in a third. Apply different quality settings per group.
- Set a file size ceiling (e.g., max 150KB) rather than a quality target — but review the outputs. Automatic file-size targets can produce very poor results on complex images.
- Spot-check 10% of outputs at full display size, not thumbnail. Artifacts are often invisible at thumbnail scale but obvious at 1x display.
The Pixelry bulk compressor processes all compression client-side. Your images never leave your browser — the entire process runs in WebAssembly using the same libwebp and mozjpeg encoders used by Google’s Squoosh.
What Would Change My Mind About WebP as the Default
AVIF has the numbers: 10–20% better compression than WebP, full transparency support, and ~95% browser coverage as of 2026. My current hesitation is encoding speed. WebP encodes in milliseconds; AVIF encodes in seconds for high-resolution images, making it impractical for any real-time or user-initiated workflow. If AVIF encoding speed reaches parity with WebP through hardware acceleration or improved software encoders, the recommendation changes. For pre-processed static assets where encoding time is not a constraint, AVIF is already worth using.
The other caveat: WebP at 97% browser coverage still means ~3% of users — mostly legacy enterprise environments running old browsers — get a broken image. For consumer-facing sites, this is acceptable. For enterprise software with controlled browser environments, test your actual user base before removing JPEG fallbacks.
Frequently Asked Questions
Compress Your Images Now
Client-side WebP compression with quality control. Your images never leave your browser — no uploads, no sign-up, no data stored.
Open Image Compressor →